Planets and outposts
Send the scout ship to read planets before committing: temperature, fertility and wildlife decide what you can settle. Asteroid debris damages the city if Kewa passes tired.
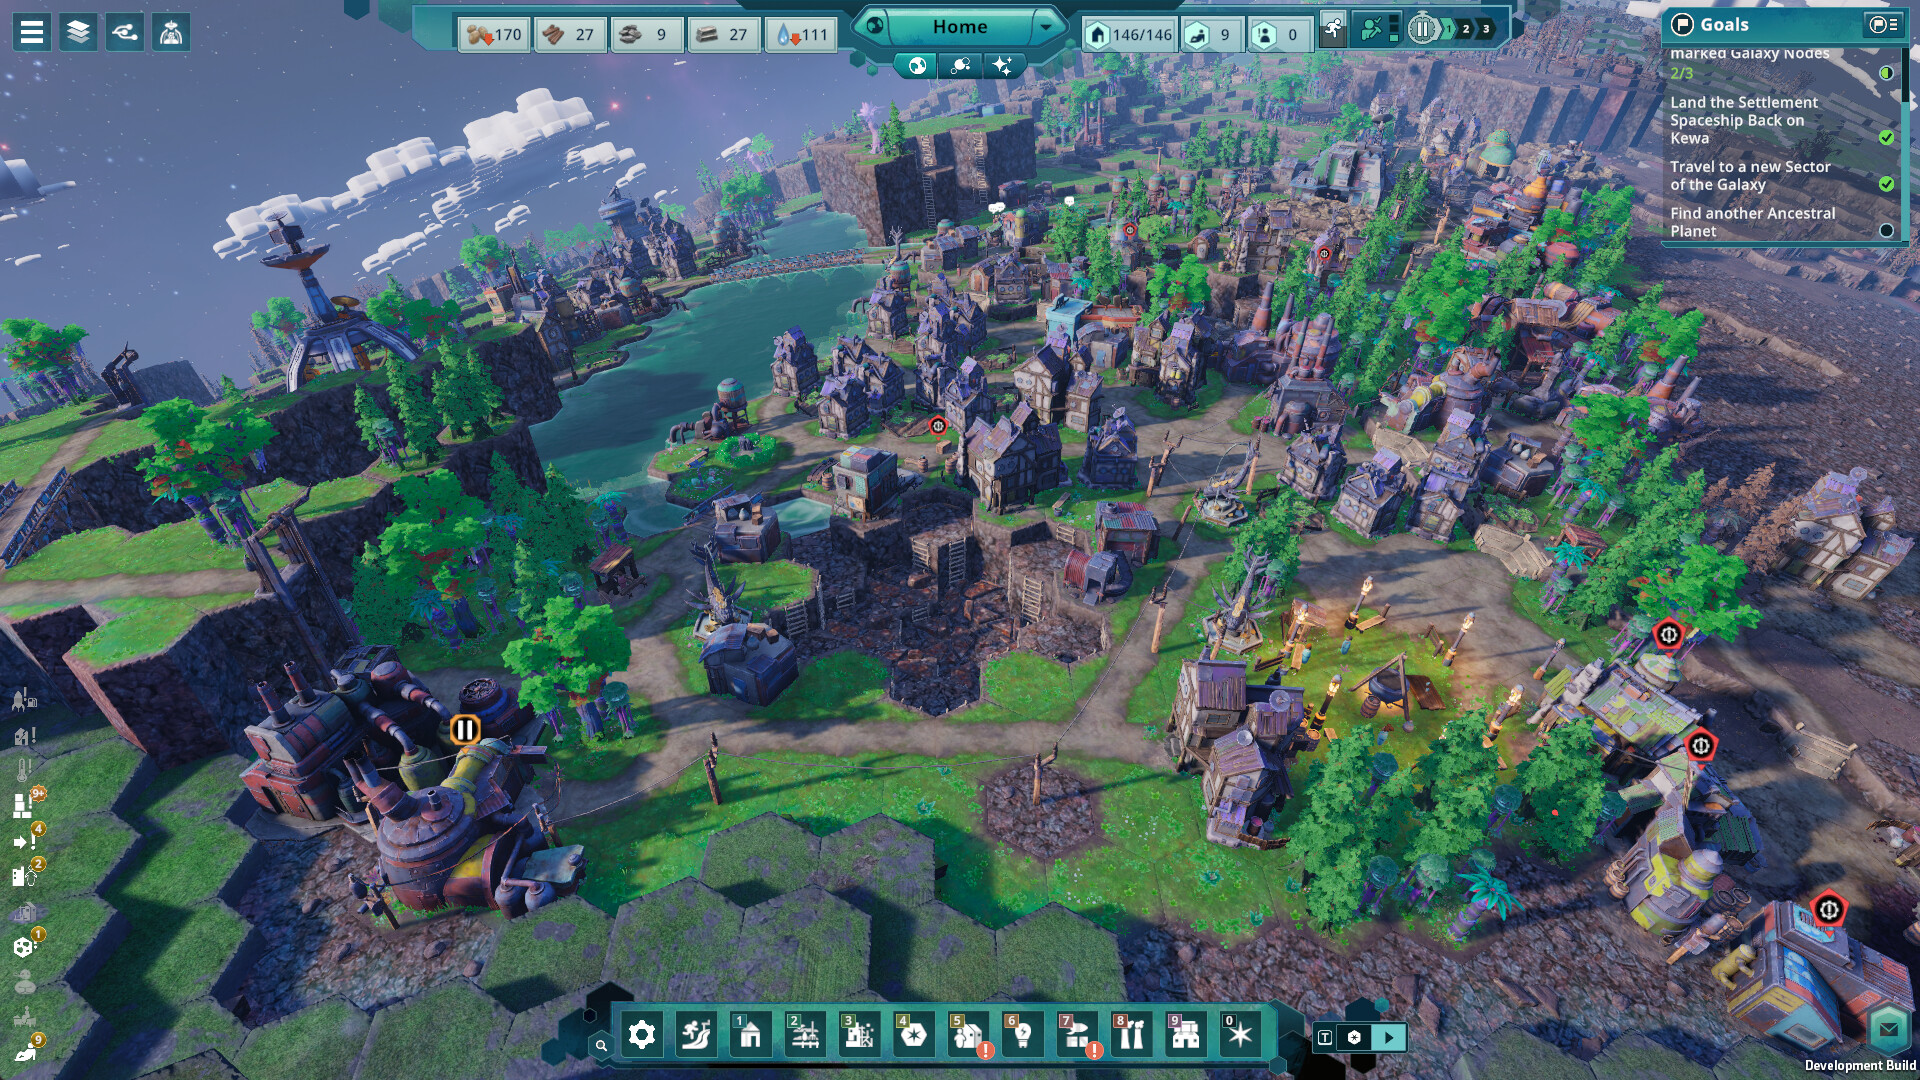
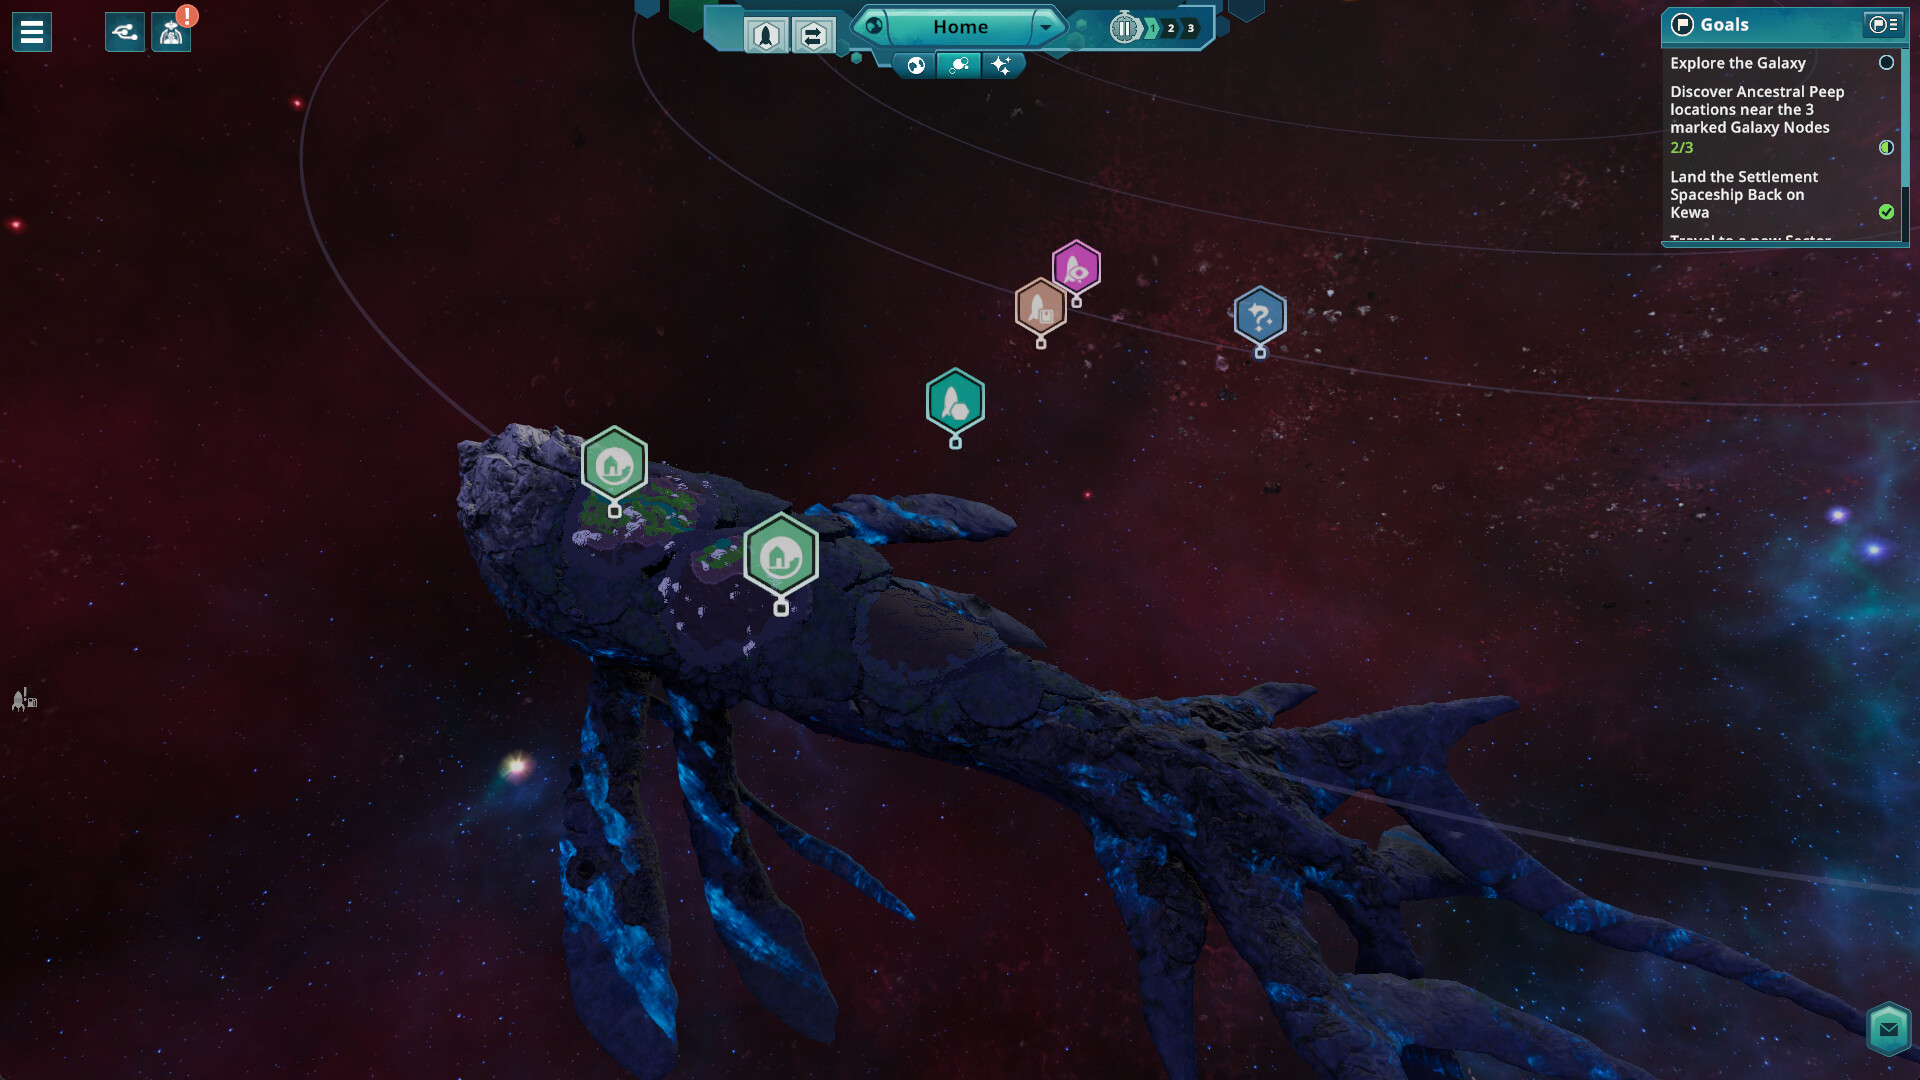
Once the city on Kewa's back can feed itself, the galaxy opens up. The Beyond These Stars map is a route of star systems you scroll through aboard the whale — some nodes hide settleable planets with resources you simply cannot produce at home, and the seatbelt sign is genuinely worth respecting.
The galaxy map and the scout ship
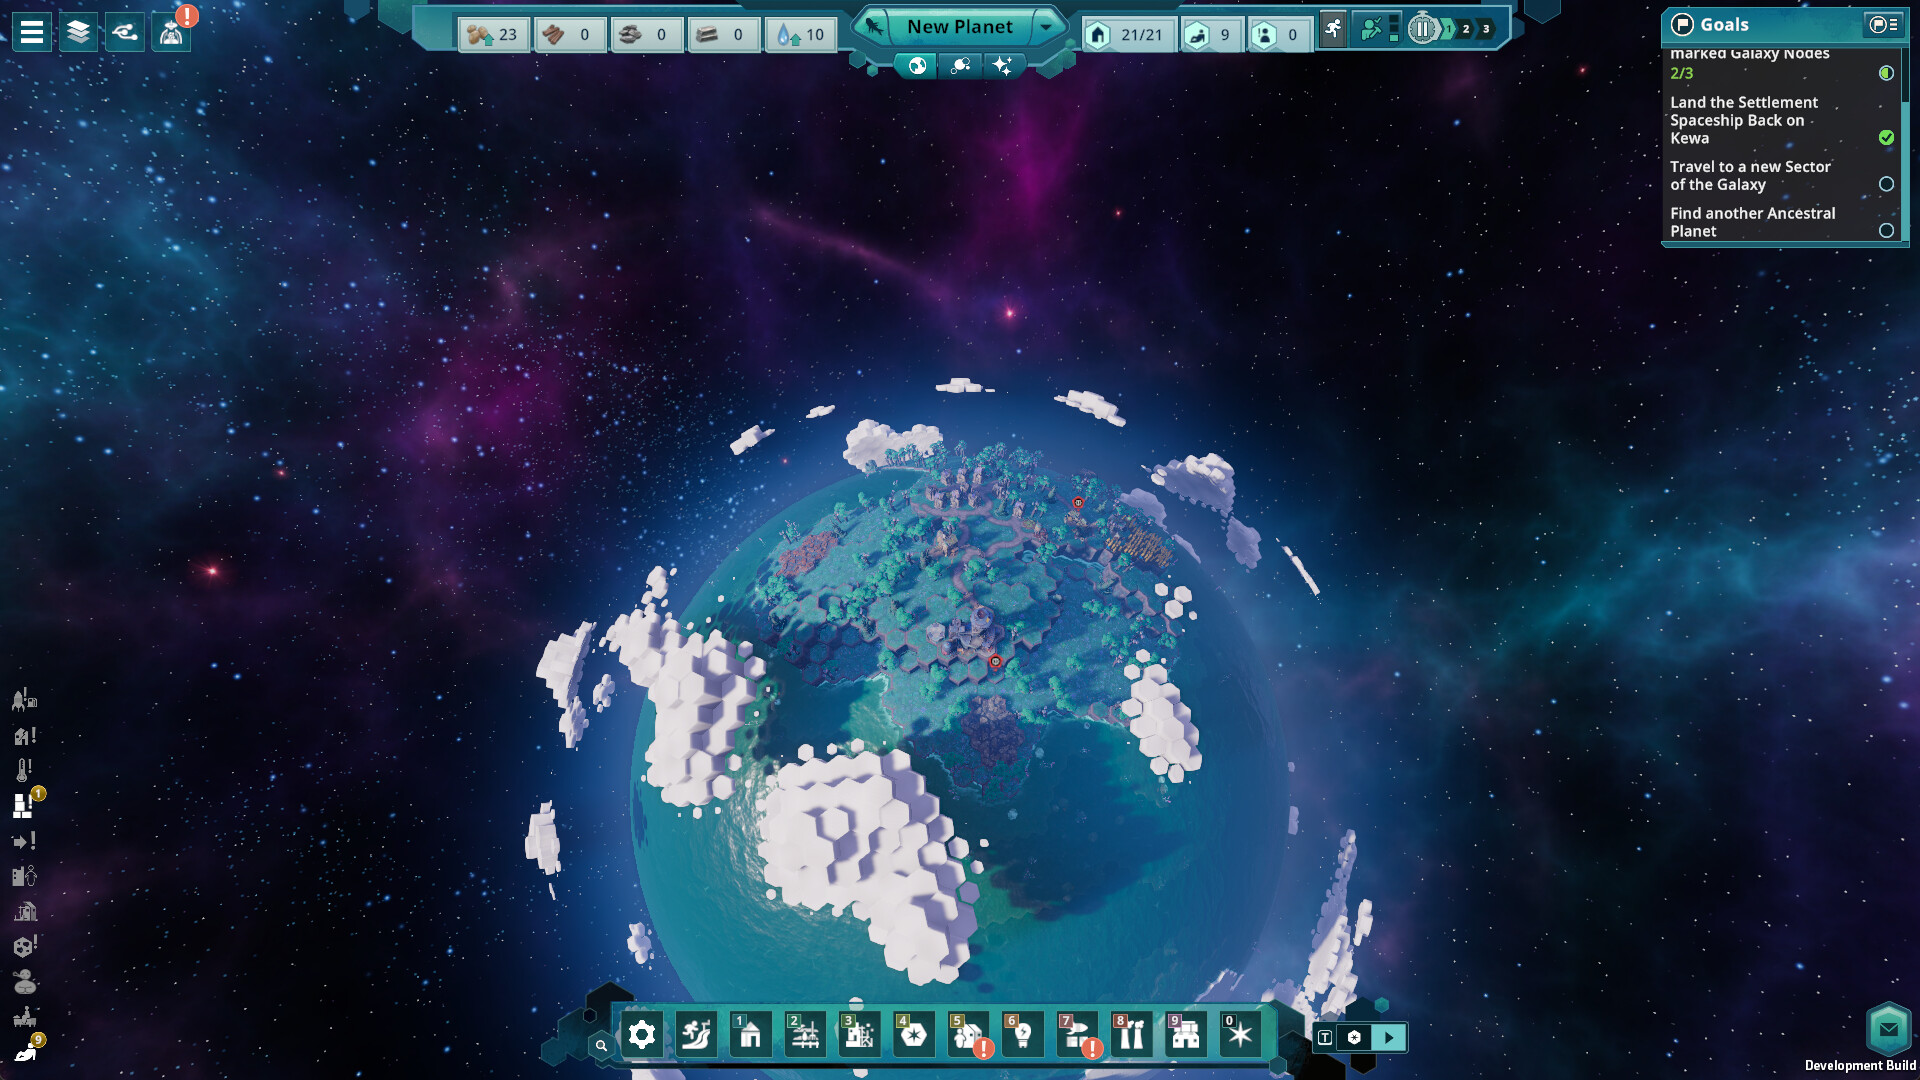
Kewa's ability to travel unlocks the Galaxy Map. It starts only partially visible and fills in as your journey continues. Each node is a star you can ask Kewa to swim to — and before you commit the whole city, you investigate with the scout ship, piloted by Jose (a very good peep, canonically).
Scout findings at a node can include:
- Barren planets that cannot support peep life — often still worth parking at for other reasons, because the same star might hold something else.
- Space junk and strange objects.
- Trade stations.
- Aliens — possible friends, per the developers, and a stated part of the 1.0 content.
- Settleable planets — the prize: habitable worlds with new resources that Kewa cannot grow or mine.
Choosing where to settle: read the planet first
The developers walked through one exemplar world sitting in the "Neutral Sector", soaking in a moderate climate near a pleasantly warm sun. It offers what a good colony target looks like:
- Fertile land and clean ocean water.
- New animals — chickens and cows — which the Pasture building turns into milk and eggs, expanding peep diets beyond potatoes.
- Berries, wheat (animal feed) and shells (which feed a cement chain).
- New buildings unlocked on landing: the Trawler and Orchard alongside the Pasture.
Temperature is the strategic dial across the whole galaxy: regions run hot and cold, peep mood sags in the extremes, and crop growth speed changes with the climate. A long stay in the wrong temperature band is a slow, quiet tax on everything you're trying to do.
The cost of travel: Kewa's stamina
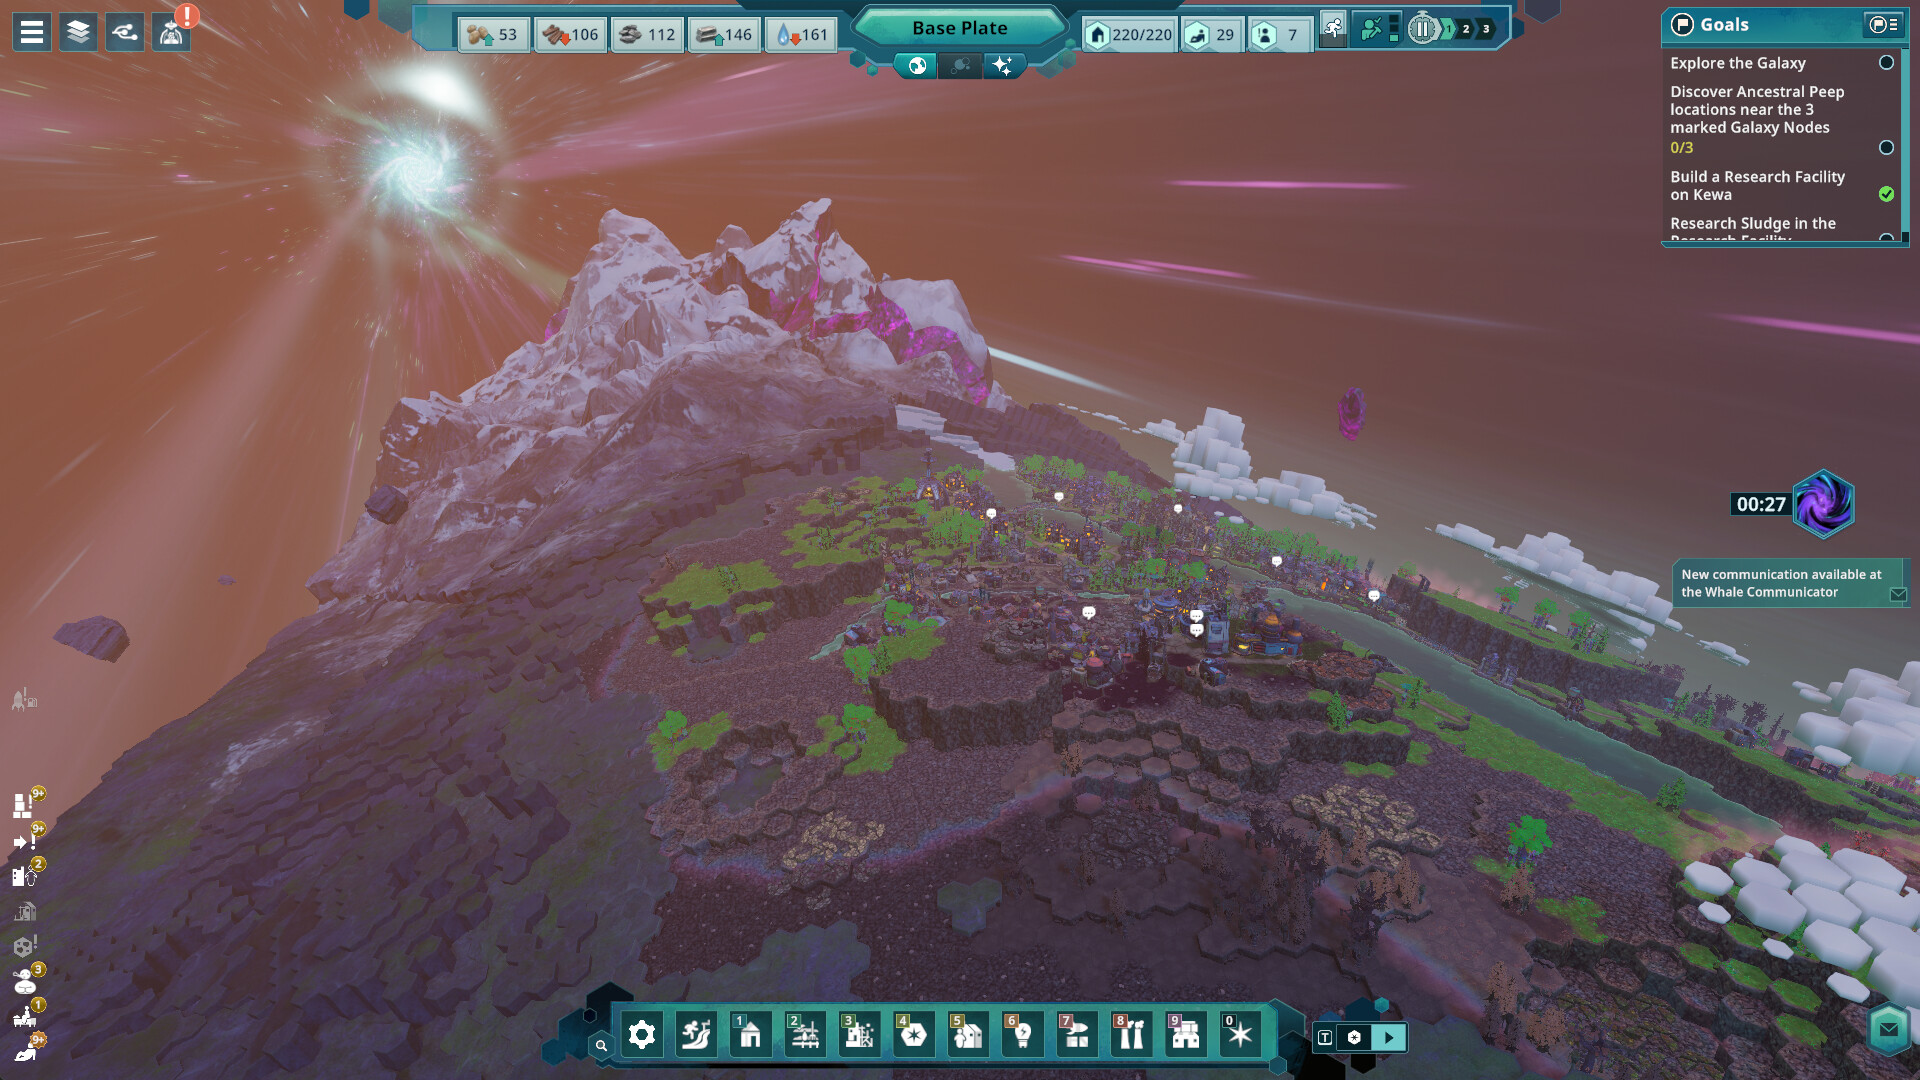
Travel is not free for the whale. Kewa needs to eat — and when stamina gets low, Kewa detours through debris fields to feed. The detour is survivable; the debris is not always:
- Debris can rain down on the city, breaking buildings.
- Broken buildings must be repaired before production resumes.
- Add heat: linger too long in a hot region and Kewa's happiness drops far enough that Kewa triggers emergency travel to a cold system, whether or not that's convenient for your plans.
Plan stamina the way you plan food: routes with known debris fields should be scheduled when the city can afford a repair pass, not mid-expansion.
Outposts: two economies at once
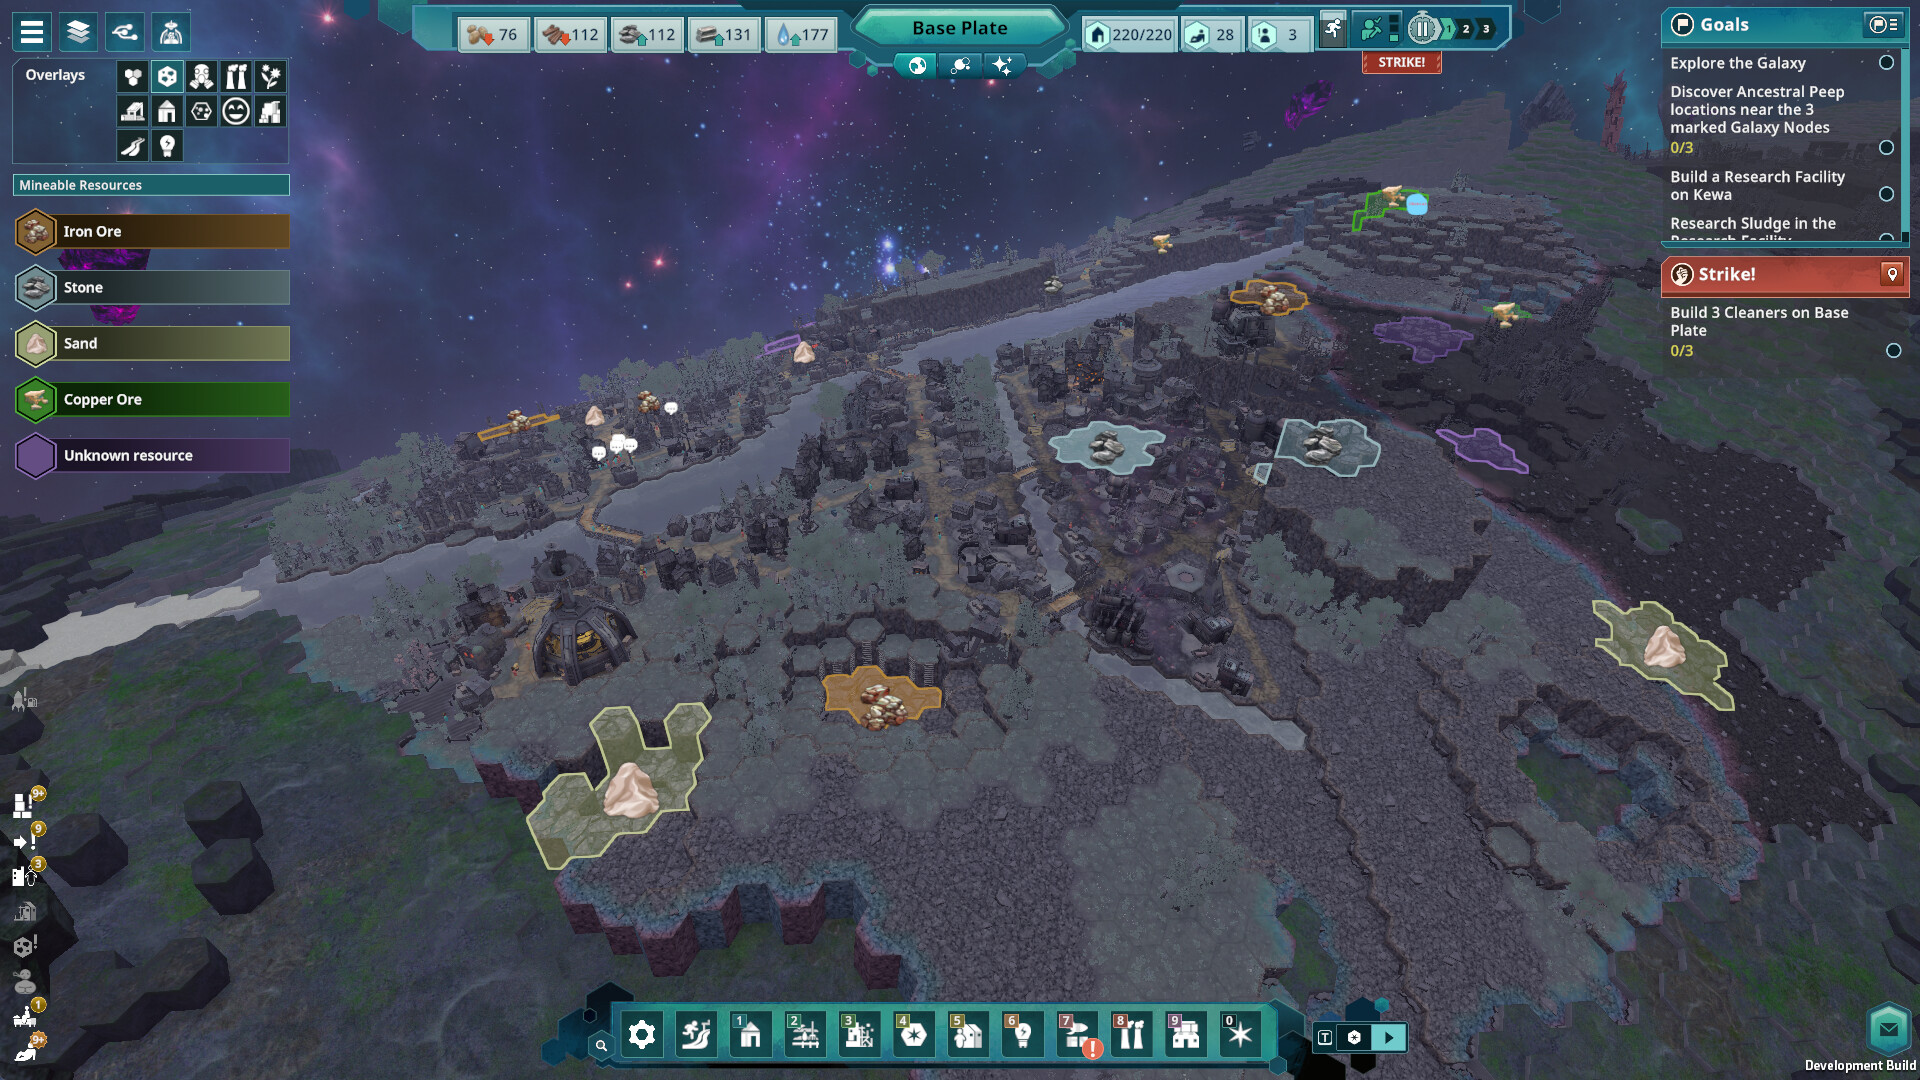
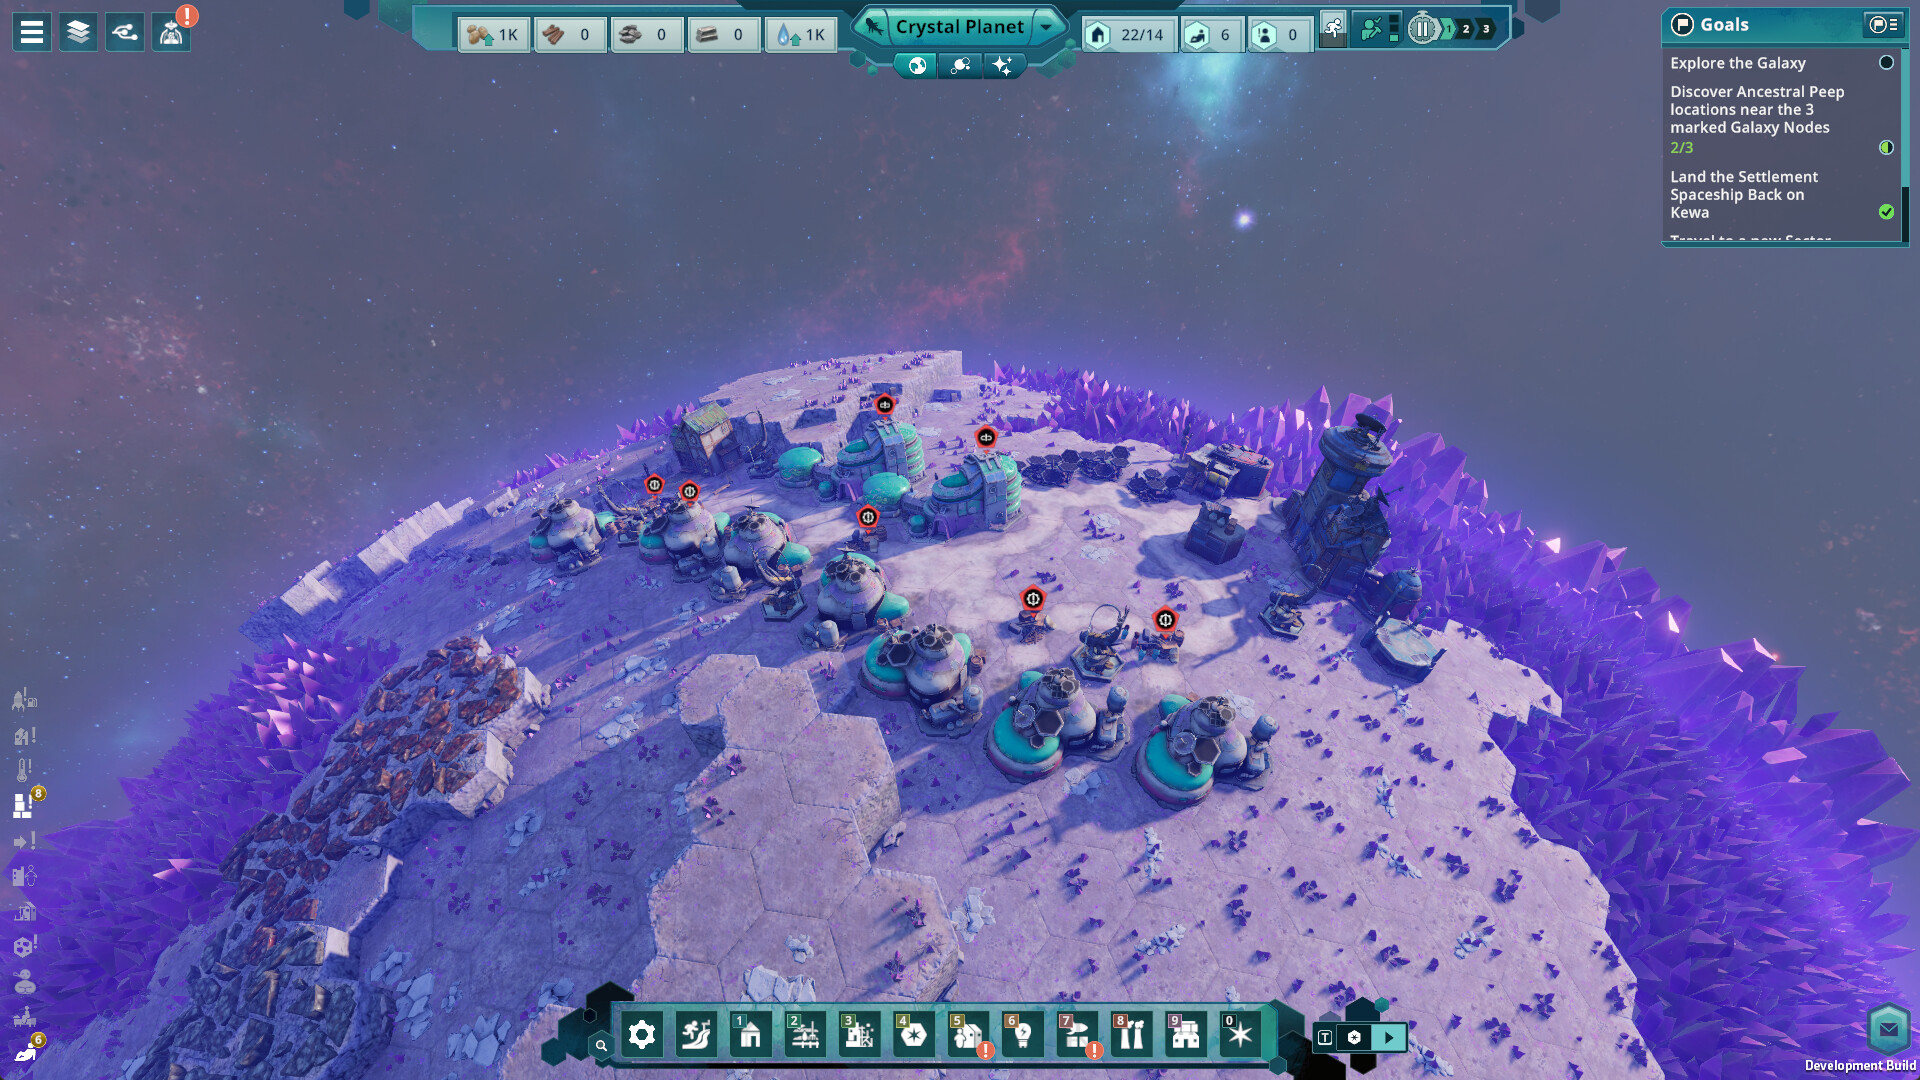
Settling a planet means running two places at once — the city on Kewa and the outpost on the surface. Planet-side resources flow home and fill gaps the whale's back cannot (that's the whole point of going), but every outpost also doubles the surface area where production can stall while you're looking at the other screen. The practical habit: don't found an outpost while the home city is mid-crisis; stabilise, then venture.
Route-planning checklist
- Scout before you sail. Jose first, commitments second.
- Check the temperature band against your current crop plan and peep mood.
- Bank food and spare materials for a repair pass after any debris crossing.
- Found outposts from a position of calm — never during a home-city crisis.
- Keep the story in view. The galaxy route is also the story route; the whale notices where you take it.
Related reading
- Kewa care — the stamina and temperature systems, from the whale's side.
- Resources and supply chains — where planet goods slot into production.
- Sandbox mode — if you'd rather design the galaxy yourself.